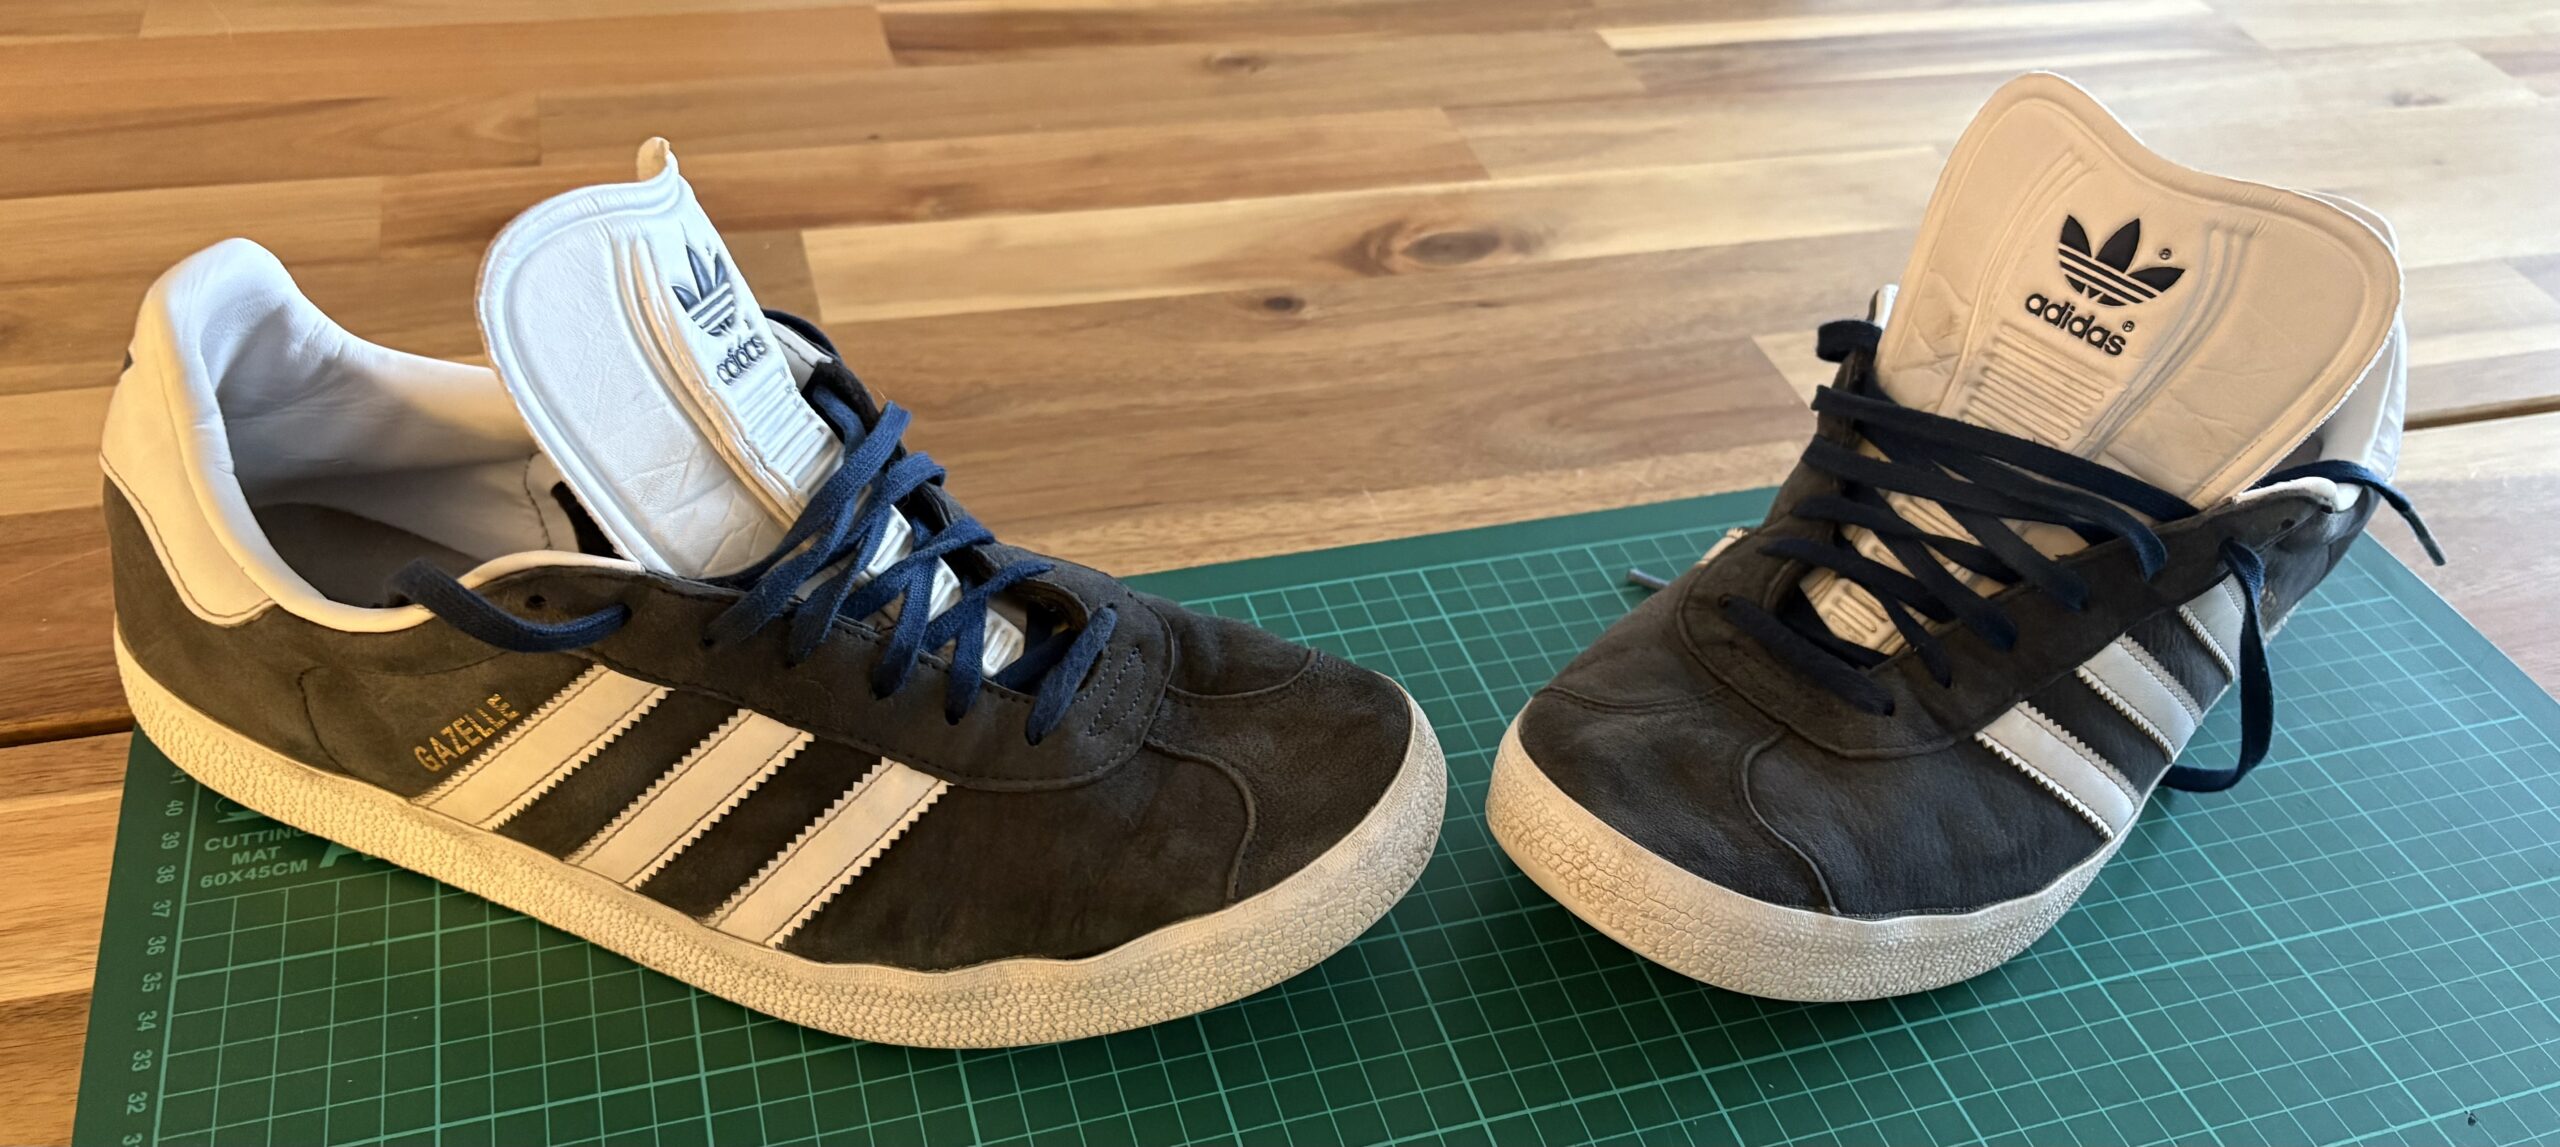
I recently performed a fix on the soles of a pair of Adidas Gazelle shoes to use them as spares or garden shoes rather than throw them out.
Firstly, I soaked them in the sink and gave them a gentle clean to get the worst dirt off using soap water. I then washed them in the machine at 30 degrees and dried them out on the radiator.
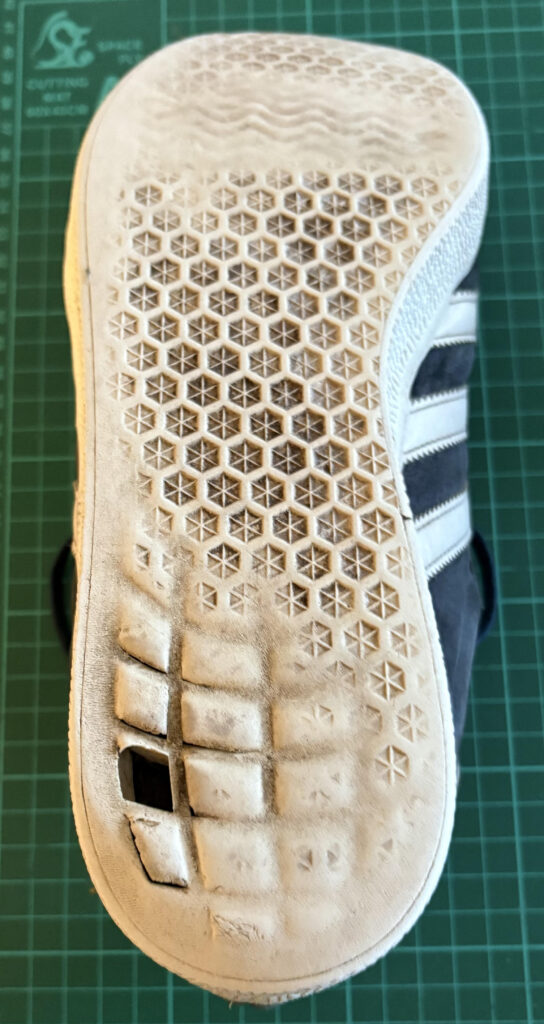
The soles on the Gazelles are made up on the heal end with a series of square/rectangular shaped moulds which over time with use walking and particularly driving, tend to wear off.
What is not immediately obvious is the ones that remain often have minute cuts in, letting small stones or gravel to trap inside between the outer and inner sole.
The following tools and products were required to do this:
- Stanley Knife
- Sandpaper (medium grade), or sanding file-chisel
- Shoe Glue (I used “Shoe Goo”)
Inspect the Soles
A cursory glance should determine which of the moulds are already gone, which are breaking, and which are damaged but not visibly so.
Some moulds will look okay, but on close inspection may be slit and already have gravel inside. You could place a felt-tip pen mark on the ones that need to be removed.
Cut Broken Moulds
Next, use a Stanley knife to cut out the moulds you’ve marked for removal. Follow the line of the mould ensuring the blade moves away from you for safety. They are not super-deep so cut out quite easily.
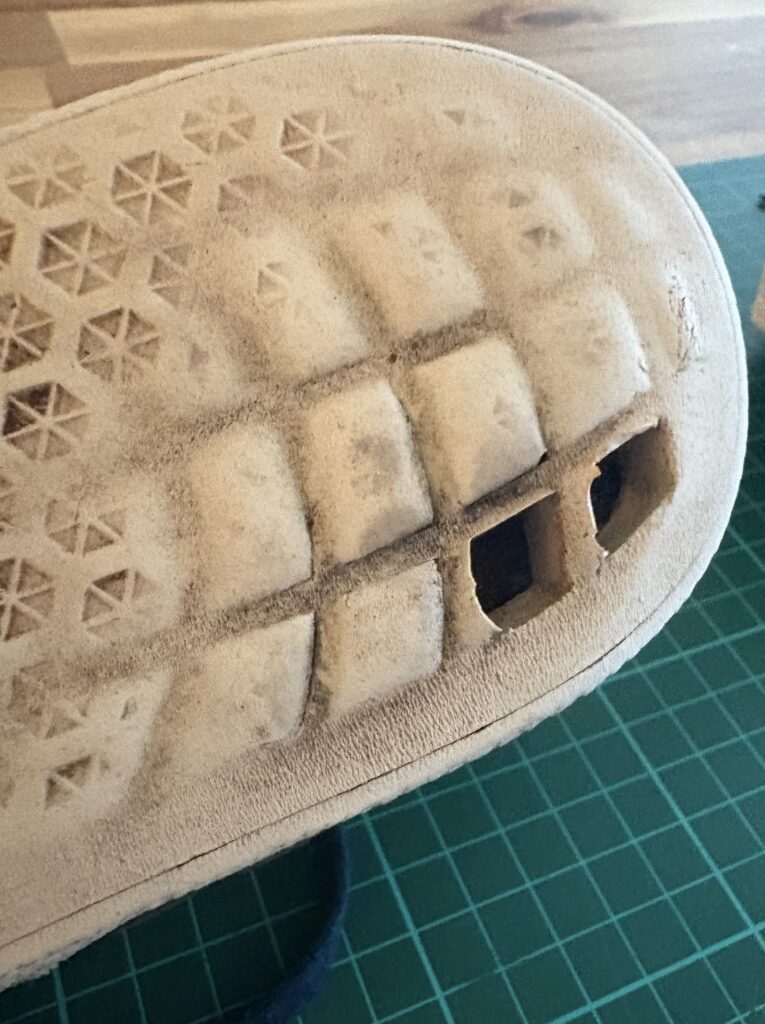
Sand Inside Walls
Shortly, a glue will be applied to fill the holes. It is important that there is a non-smooth surface for the glue to bind to.
Use a medium-grade sandpaper, perhaps wrapped around a pencil to lightly scratch the internal walls of the sole. Alternatively a sanding tool such as a file-chisel would work just as well. It doesn’t need to be over-visible, just not smooth.
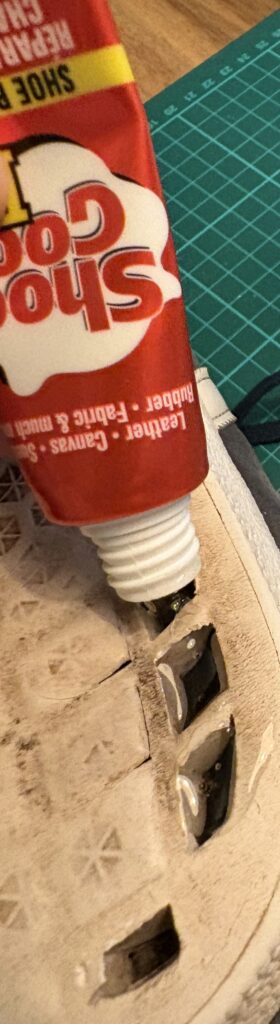
Glue Fill
This is likely the only cost of the project. A shoe glue suitable for sole repair is required to flood the exposed holes.
I used a product from Amazon called “Shoe Goo”. Consideration should be given to how much you are likely to need. It is about £8 for a 26ml tube which is sufficient to fix three or four moulds per shoe.
One tip before you start the filling. If the inside sole is broken or lose then the glue will squeeze through under the pressure. A small block of wood which roughly fits inside the shoe should be sufficient to hold it in place during gluing – but bear in mind that the shoe will be upside down when the glue is setting.
Fill all your mould holes, and leave for 24 hours to set.
Setting
After a day, observe the sole to ensure that the shoe glue hasn’t sunk. If it has, then repeat the process to complete the fill ensuring that you again sand the set glue slightly to enable a new surface bond.
If all is good, the glue may appear translucent and slightly proud of the sole surface.
It should be sanded again gently regardless to prevent the shoe from slipping when in use.
Products Used
Good Luck!

Leave a Reply