I’m looking to obtain one of each model for my forthcoming vintage site dedicated to the AMBRA brand. Since my last post regarding the Ambra Sprinta 386, I’ve had the pleasure of meeting and speaking to the founder/General Manager of Ambra, Alan Willsher who provided me with a wealth of history about Ambra, and it’s relationship to IBM. I will at some point provide a link to all the Ambra history as provided to me and publish online in my forthcoming Ambra site.
The AMBRA 486 was released in the latter part of 1992 – it had the same profile and casing as the 386 except for two notable alterations:
“486” was printed in white-on-grey on the bottom left of the front facia of the chassis.
The ICPI 4-plastic-squares which were on the top of the chassis to enable the Ambra monitor to be fixed on the 386 model was removed. Newer monitors would free-stand on the top of the casing (as was the way with practically every other brand).
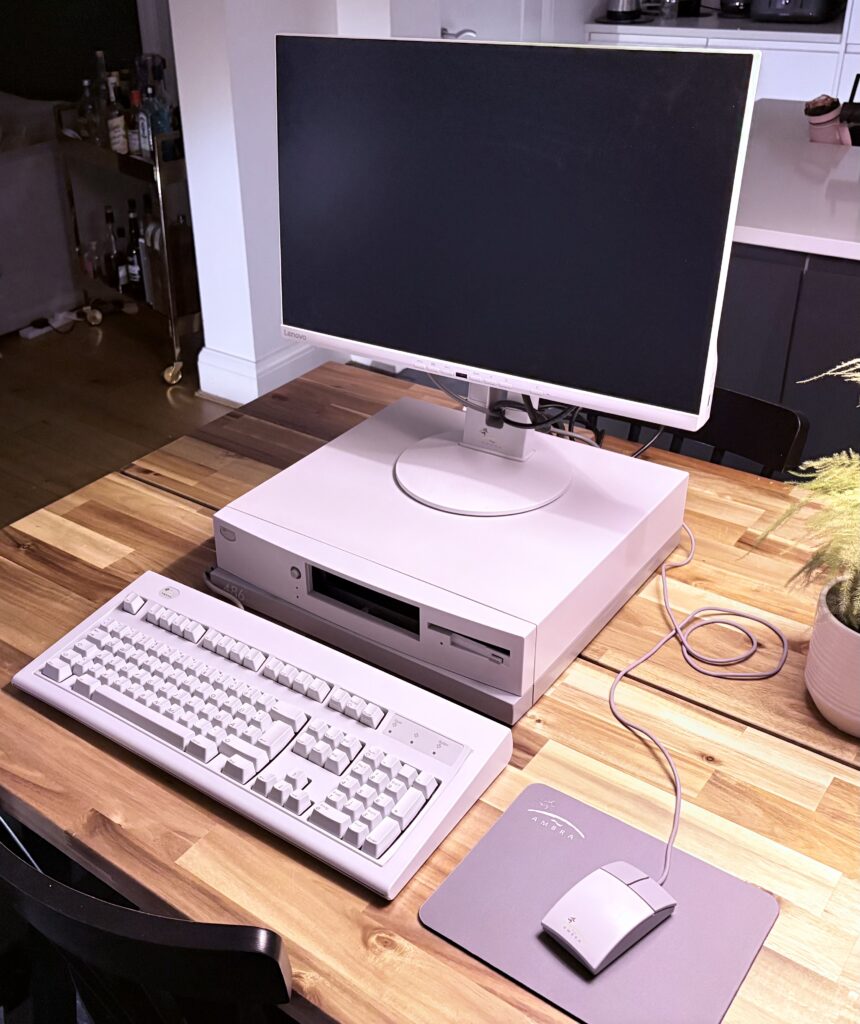
AMBRA Sprinta Plus – 486 Model / 1992. Note the monitor is not original, it is a Lenovo (rebranded as Ambra for the archive). I’ve purchased this model from Germany sporting the second generation AMBRA keyboard based on the IBM Model M, and the second generation AMBRA mouse based on Logitech.
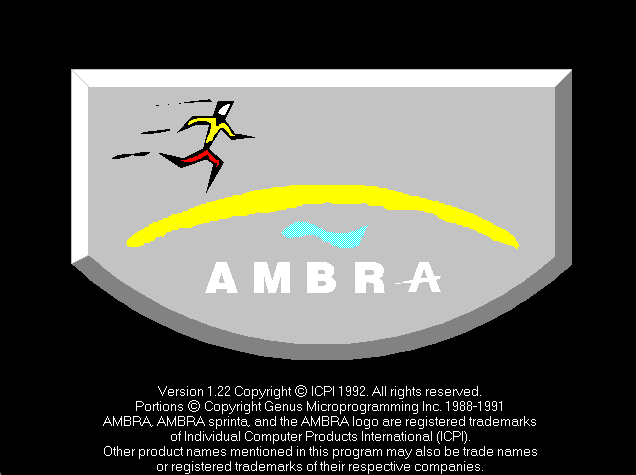
The BIOS was still Phoenix – version A486 Version 1.03, and for all intents and purposes offered exactly the same screens as on the 386 model, but offered a more colourful boot-up screen.
Side note: Whilst F2 is the function key offered to access the BIOS when an actual error is detected on boot, if no error exists and you wish to enter into the BIOS then you must wait for the Memory Test to commence on bootup and press Ctrl+Alt+S.
As expected with machines of this age, there are a few challenges with some of the components. I’ve stripped it completely bare and restored it to near-perfect condition and have installed the AMBRA base install comprising of Windows 3.1 & IBM DOS 5.0 along with the AMBRA specific software.
The masterplan for this machine is to get an in-house network running on Windows for Workgroups v3.11 along with other AMBRA machines and test the network chess game. Additionally I am looking to revive a dBase III+ application I wrote on my original AMBRA Sprinta 386 in 1994 which I will blog about separately.
As always eBay has been my friend on this project. The following additions I’ve applied to the base-build:
Creative Labs Sound Blaster 16 Sound Card CT4170
Creative Labs 24 speed CD-ROM (IDE) CD2423E
3COM EtherLink III Network Interface Card 3C509-COM30
Upgraded the RAM to 8MB (8 x 1MB 30-PIN parity)
I thought the Floppy Disk drive (a YE-DATA), was fairly broken, and the usual alcohol clean of the heads failed to work, but then discovered it was the floppy disk controller on the motherboard which had issues.
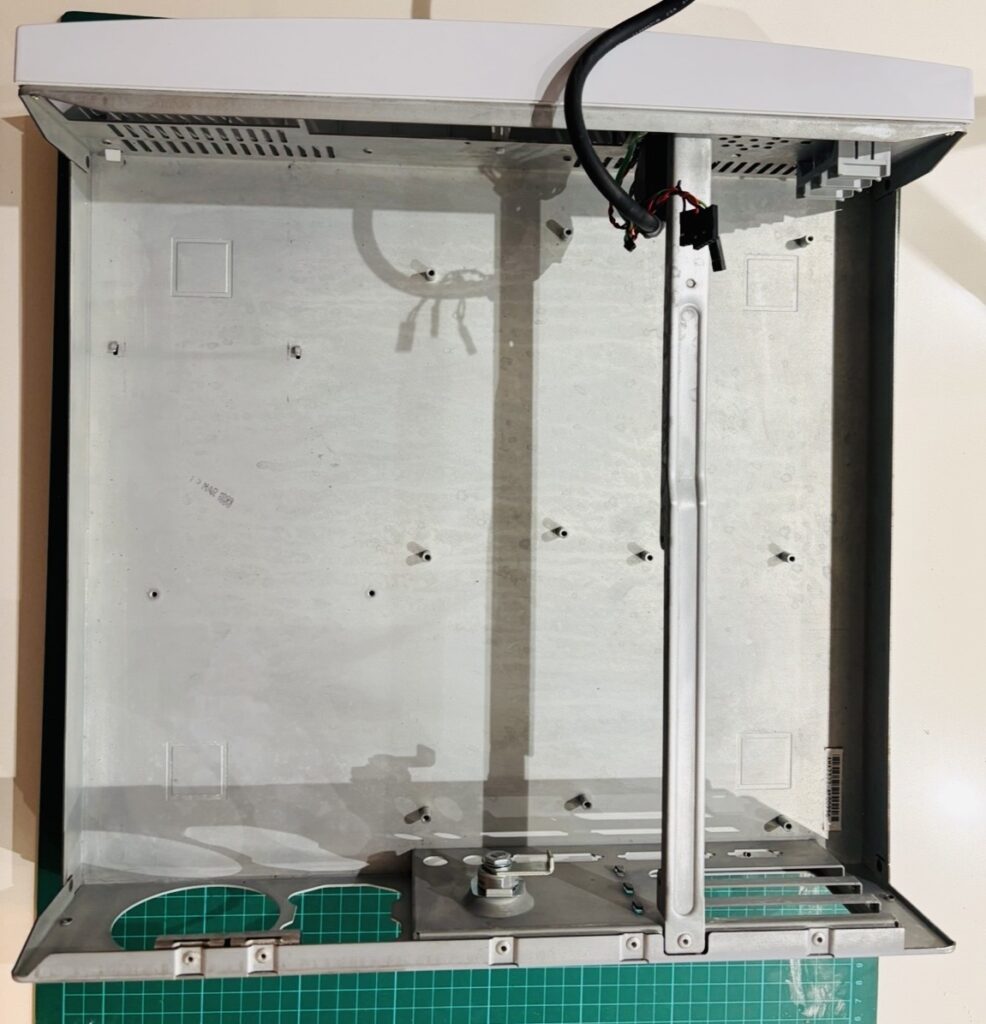
Firstly I removed all components to just leave the empty case. It needed a good clean inside and out.
Ambra Sprinta stripped bare for cleaning.
I then checked all components, cleaning them as required.
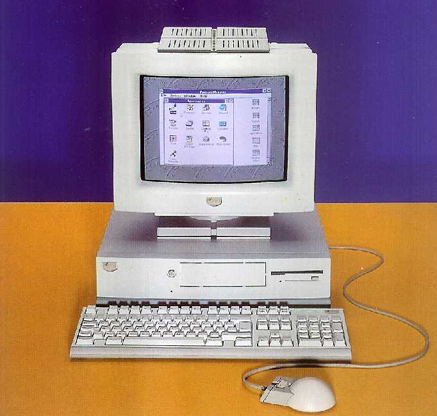
Another bit of nostalgia within this post. Back in 1992 I purchased my first PC from Wine Street in Bristol – replacing my ZX Spectrum +3 (by then owned by Amstrad).
Dealerships for each model had a two-page definition of the spec and available options.
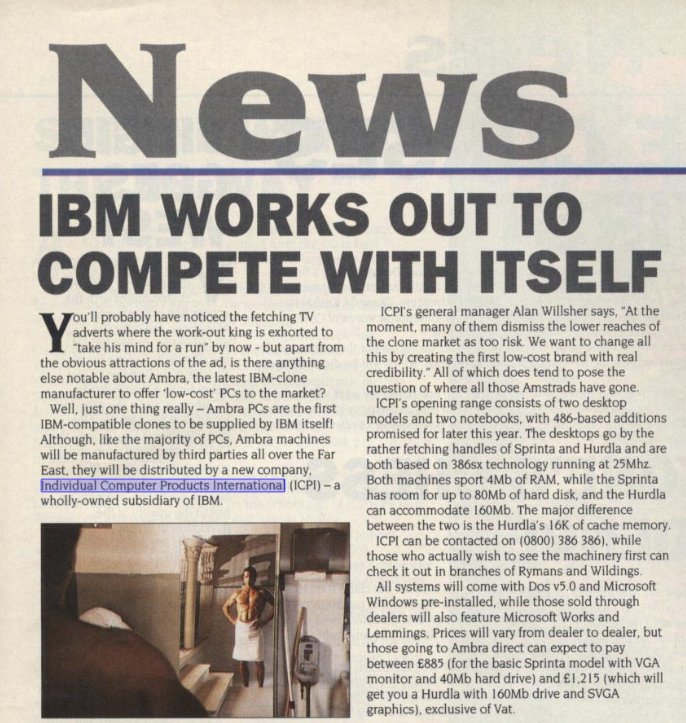
A clone of the IBM PS/2, manufactured by IBM’s subsidiary ICPI (Individual Computer Products International) run by IBM exec and General Manager Alan J Willsher for the initial launch (and who on the initial production run would have a personal note embedded in the pre-loaded software) before handing off to Giuseppe Giovanni by 1993.
The accompanying TV advert in the UK , along with advertising literature had the tagline take your mind for a run.
Two videos are available on YouTube – one is embedded below (credit: “Ambra” user), the other prohibits embedding, so a link is provided (credit: “Obsolete Archive” user).
1992 AMBRA advert in the UK (credit: “Ambra” user on YouTube)
Mixed reviews exist online about the quality and reception of the Ambra product line, but mine never faltered during it’s entire lifespan of upgrades and constant running – and did I run it some – to complete an A-level computing project based on statistics.
I opted for the low-end model due to cost, and the specs were:
Hardware Specification
Sprinta Feature
Comments
Processor
386SX running at 25Mhz.
Cache
None.
Math Co-processor
Socket for 386SX Math Co-Processor running at 25 Mhz.
Memory
2MB (supplied with 2x1Mb SIMM modules) upgradable to 16MB with 4x4MB SIMMs.
Video
16-bit controller max 1024×768 with 16 colours (on-board).
Hard Drive
40MB access time 18ms. Optional upgrade to 80MB
Disk Drive
3.5-inch FDD built-in to molded case.
Expansion Slots
3 x 16-bit ISA (AT bus)
Drive Bays
3: 2 x 3.5 inch and 1 x 5.25 inch – the latter suitable for floppy disk drive or CD-ROM drive. Molded plate requires manual cutting before installation.
Integrated Ports
Parallel, Serial, PS/2 Mouse, PS/2 Keyboard.
Integrated Controllers
IDE disk controller, 16-bit S-VGA controller.
Keyboard
PS/2 Ambra keyboard included. Enhanced 102-key.
Mouse Type
PS/2 Ambra keyboard included.
Unit Size
11.5cm (h) x 42cm (d) x 41.5cm (w). 8.6kg weight.
Operating Temperature
10-35 degrees c, 10%-80%
Power
230V (switchable to 115V). 50-60Hz.
The initial production line shipped with 386 processors (later versions of the Mk 1 would have the same chassis, but had “486” stamped in AMBRA grey on the left had slide of the front panel).
Software Pre-Load
The AMBRA range were shipped with pre-loaded software under a “license non-disclosure agreement”. It basically meant that no floppy disks were provided as installation media. The AMBRA documentation suggested performing a backup of the vanilla hard disk which was estimated at requiring 18 high-density 1.44Mb disks and taking ~ 70 minutes to complete.
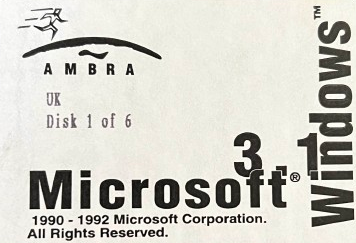
A call to customer services could enable the install floppies to posted to you for the various applications. These were sent out on 1.44MB floppy disks and were AMBRA branded – archive.org has a copy of these shown below:
Disk 1 of 6: AMBRA branded Windows 3.1 Installation disk label (credit: archive.org)
Whilst models varied, the first run of Sprinta in the UK had a preload of:
Software
Version
IBM DOS
5.0
Microsoft Windows
3.1
Microsoft Works for Windows
2.0a
Game – Lemmings
Ambra Tutorial
(model specific)
Creating an initial backup was obviously a good idea, but in the event of needing the install disks, the warranty permitted two calls to customer service to have a set of floppies sent to you which you were required to return – or pay £20 to keep them.
Booting Up & BIOS
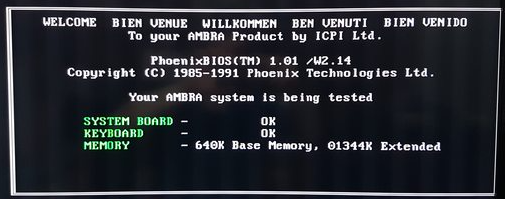
The AMBRA line used Phoenix BIOS, as was a popular choice (the other notable BIOS being America Megatrends (AMI). Customised by AMBRA, the BIOS screen looked like this:
Phoenix Bios customised for AMBRA 386 line. (credit: unknown)
AMBRA Intro
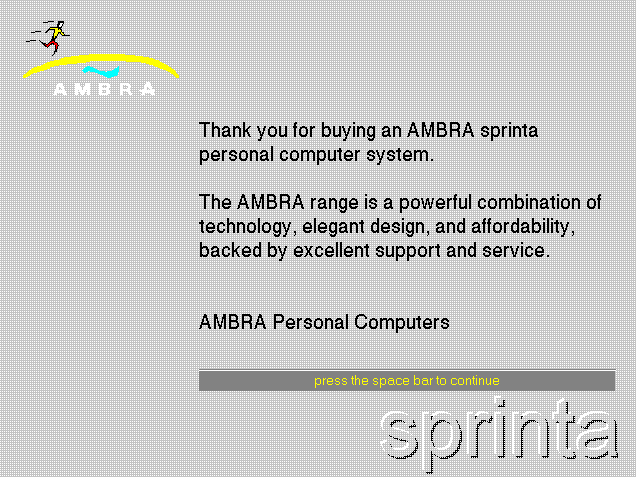
The AMBRA Intro was a DOS-based application, which served as an initial welcome the very first time the machine was switched on by the new owner, offering the ability to run the tutorial, load Microsoft Windows, or exit to the MS-DOS command line.
A new user would have been presented with the following screen after switching on (in fact this screen was animated):
The AMBRA intro program (INTRO.BAT) – run upon first bootup.
INTRO.BAT was a DOS batch file held in the C:\AMBRA\TUTORIAL directory, which simply made a call to the AMBRA tutorial file (TUTORIAL.EXE) with a special attribute:
Click to view the INTRO.BAT file
@ECHO OFF
REM ***  Windows Version of the Intro Start-up Sequence
C:
CD \AMBRA\TUTORIAL
TUTORIAL -M
CD \
WIN/3
A welcome message would follow, which originally was signed by Alan as the new GM for Ambra Personal Computers (I cannot find a copy of that early release of the AMBRA software), this is a later version:
AMBRA Intro – Thank you screen.
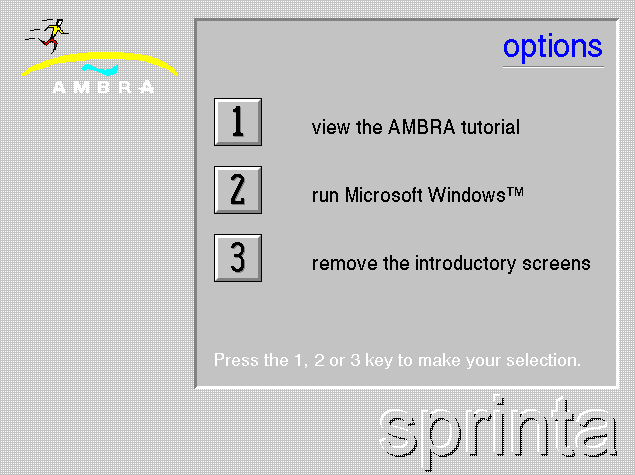
Shortly after the following screen would be shown:
AMBRA Intro – Menu screen.
AMBRA Tutorial
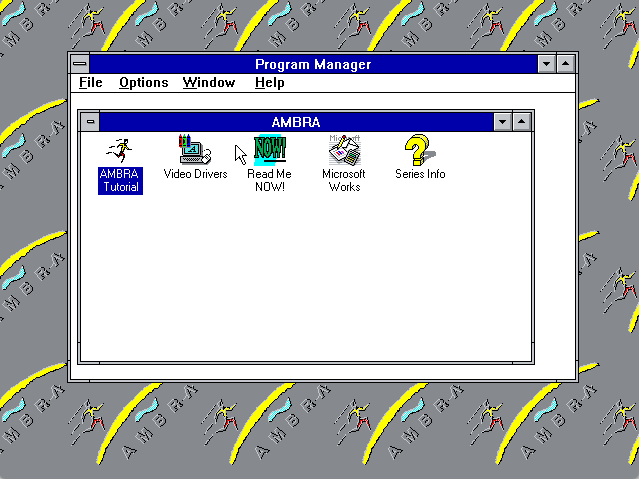
TUTORIAL.EXE could be found in the C:\AMBRA\TUTORIAL folder and was executable from DOS, but the preload also included a shortcut icon in the Windows 3.1 Program Manager’s “AMBRA” Group.
AMBRA Group within Windows 3.1 Program Manager
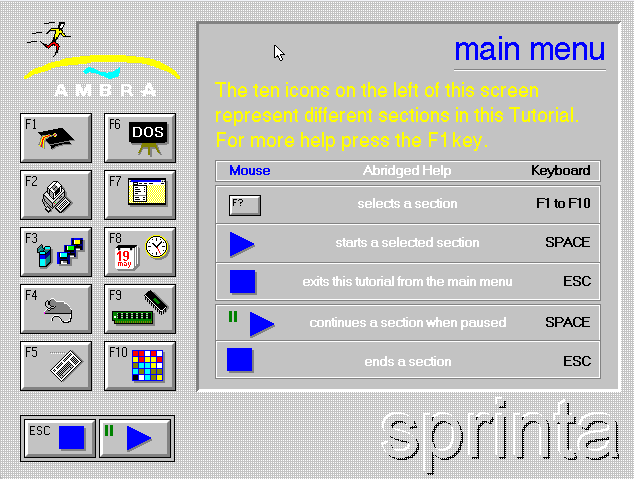
The tutorial itself, was specific to the slimline AMBRA model purchased – other models in the first series included the AMBRA Hurdla (a desktop version) and the AMBRA Treka (a notebook version). I believe for each there was a base model, a “plus” model and a “max” model each with varying degrees of features. No matter how it was loaded, the tutorial loaded a main screen with an indicator in the bottom right to your specific model – in this case “sprinta”.
Navigating the options was done using either the mouse or the function keys. It was a quite innovative (for the time) animated user guide outlining the basics of the system, the software, upgrade options and a cheeky game.
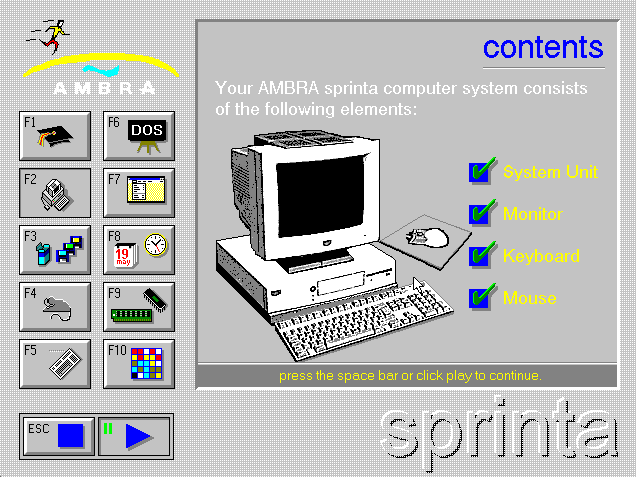
The graphics were animated and the information was very informative.
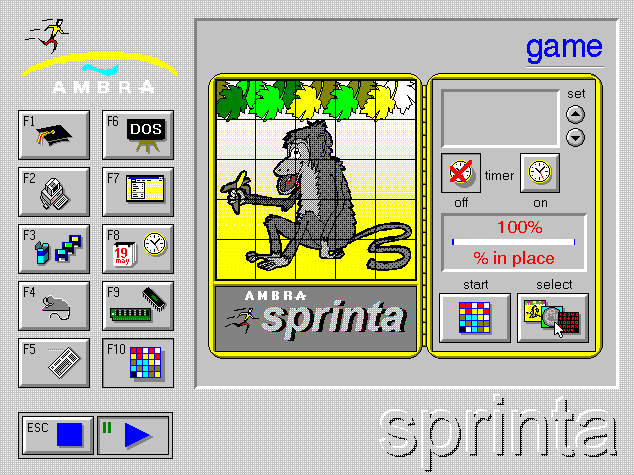
The game could be played with various skins which would shuffle and require you to move them back into place.
BOOTDOS, BOOTOLD, BOOTWIN
Within the C:\DOS folder sat three batch files which would configure the boot-up behaviour of the computer (effectively by overwriting AUTOEXEC.BAT & CONFIG.SYS after taking a backup copy).
BOOTDOS.BAT – use to configure to boot to DOS 5.0
BOOTWIN.BAT – use to configure to boot to Windows 3.1
BOOTOLD.BAT – use to configure to default setting prior to using BOOTDOS or BOOTWIN
Click to view the BOOTDOS.BAT file
@echo off
cls
echo			  Program Name: BOOTDOS.BAT
echo This procedure enables you to configure your AMBRA PC so that it can
echo provide optimum performance for the running of DOS applications.
echo You should only use this procedure if you do NOT wish to use Microsoft
echo Windows 3.1.
echo The process executed is as follows:
echo	   Your current configuration files are backed up for later use.
echo	   Standard DOS configuration files are loaded.
echo You may wish to return to your current/old configuration at a later
echo date. To do this type BOOTOLD from any DOS command prompt.
echo See also BOOTWIN.BAT which restores your AMBRA to a standard configuration
echo suitable for running Microsoft Windows.
echo If you do not wish to proceed with the above process please press
echo			    CTRL+C
pause
cls
echo Backing up your current files:
c:
cd\
copy c:\autoexec.bat c:\dos\autoexec.old
copy c:\config.sys c:\dos\config.old
echo Loading new configuration files:
copy c:\dos\autoexec.dos c:\autoexec.bat
copy c:\dos\config.dos c:\config.sys
echo Procedure completed!!
echo Please press CTRL+ALT+DEL to restart your AMBRA PC
Click to view the BOOTWIN.BAT file
@echo off
cls
echo			  Program Name: BOOTWIN.BAT
echo This procedure enables you to configure your AMBRA PC so that it can
echo provide optimum performance for running Microsoft Windows 3.1.
echo You should only need to use this procedure if you have altered the
echo original configuration files as supplied with your AMBRA PC.
echo The process executed is as follows:
echo	   Your current configuration files are backed up for later use.
echo	   Standard Microsoft Windows configuration files are loaded.
echo You may wish to return to your current/old configuration at a later
echo date. To do this type BOOTOLD from any DOS command prompt.
echo See also BOOTDOS.BAT which creates a standard DOS environment.
echo If you do not wish to proceed with the above process please press
echo			    CTRL+C
pause
cls
echo Backing up your current files:
c:
cd\
copy c:\autoexec.bat c:\dos\autoexec.old
copy c:\config.sys c:\dos\config.old
echo Loading new configuration files:
copy c:\windows\autoexec.win c:\autoexec.bat
copy c:\windows\config.win c:\config.sys
echo Procedure completed!!
echo Please press CTRL+ALT+DEL to restart your AMBRA PC.
Click to view the BOOTOLD.BAT file
@echo off
cls
echo			  Program Name: BOOTOLD.BAT
echo This procedure enables you to restore your AMBRA PC to the configuration
echo applicable prior to the running of either BOOTDOS or BOOTWIN and is
echo for recovery purposes only.
echo You should only need to use this procedure if you have executed BOOTDOS
echo or BOOTWIN and would now like to restore the previous configuration.
echo The process executed is as follows:
echo	   Your current configuration files will be ERASED.
echo	   Your most recent set of configuration files as created by BOOTDOS
echo	   or BOOTWIN are restored.
echo If you do not wish to proceed with the above process please press
echo			    CTRL+C
pause
cls
echo Erasing your current files:
c:
cd\
echo Loading new configuration files:
copy c:\dos\autoexec.old c:\autoexec.bat
copy c:\dos\config.old c:\config.sys
echo Procedure completed!!
echo Please press CTRL+ALT+DEL to restart your AMBRA PC.
AMBRA Mouse Driver
The AMBRA mouse had two driver files provided in the form of executable command files – AMOUSE.COM and AMOUSEL.COM bundled in the C:\DOS directory. I don’t know the difference between them. Other web users have reported they are marginally more memory efficient than the DOS bundled drivers.
Read Me NOW! (AMBRA.WRI)
Within the AMBRA group within Program Manager was a Windows Write file (that was the primitive word processor bundled with Windows 3.1 back in the day).
Click to view the AMBRA.WRI file as pre-loaded:
More Information About Your AMBRA computer
This document contains important information that is not included in the
AMBRA Introduction to Your System or Technical Reference or in online Help.
Using Write to View This Document
If you enlarge the Write Window to its maximum size, this document will be easier to read. To do so, click the Maximize button in the upper-right corner of the window. Or open the Control menu in the upper-left corner of the Write window (press ALT+SPACEBAR), and then choose the Maximize command.
To move through the document, press PAGE UP or PAGE DOWN or click the arrows at the top and bottom of the scroll bar along the right side of the Write window.
To print the document, choose the Print command from the File menu.
For Help on using Write, press F1.
Contents
This document contains additional information on the following topics:
1.0 Installing New Printer Drivers
2.0 Screen Enhancements For Microsoft Windows
3.0 Booting Up To DOS Rather Than Microsoft Windows
4.0 Changing Your Microsoft Windows Background
5.0 Backing Up Your Hard Disk
6.0 Microsoft Windows Mode
1.0 Installing New Printer Drivers
Your AMBRA computer comes ready set up to allow you to configure most types of printer. However, you may change your printer configuration at a later time by installing and enabling another driver. An extensive range of printer drivers has been included in the directory
C:\PRINTERS.
To install a driver for your printer, choose the Windows Control Panel (in the Main program group) and then choose the Printers option. Follow the steps to Add and then Install the appropriate printer driver. For more information, see the Microsoft Windows User’s Guide.
If you have no immediate requirement to change your printer configuration, you may wish to free up some space on your hard disk by deleting the printer driver files after copying them to a formatted, blank, high density (1.44MB) diskette. This diskette will be necessary should you change your printer in the future. Therefore, it should be retained in a safe place.
2.0 Screen Enhancements For Microsoft Windows
Your AMBRA computer comes set up so that, at switch on, it automatically loads Microsoft Windows in VGA 640×480 256-colour mode. If you have an AMBRA SVGA or UVGA monitor, specific AMBRA display drivers are available that may be used to enhance screen performance. These drivers can be found in the Video Drivers icon.
After restarting Windows, you should reset colours to the default. Choose the Control Panel icon and then the Colour icon to reset colours to the default setting. For more information, see the Microsoft Windows User’s Guide.
3.0 Booting Up To DOS Rather Than Microsoft Windows
Your AMBRA computer comes set up so that, at switch on, it automatically loads Microsoft Windows. A facility is provided to change your computer’s configuration so that it automatically displays the DOS prompt instead.
This facility must be run from within DOS.
At any DOS prompt, type
bootdos
Your machine must be rebooted after this for the change to become effective.
A facility to return to the original automatic boot to Windows also exists.
At any DOS prompt, type
bootwin
Again, your machine must be rebooted for the change to become effective.
4.0 Changing Your Microsoft Windows Background
Your AMBRA computer comes set up with a specific AMBRA background for Microsoft Windows. This is termed Wallpaper. Other Wallpapers are available for you to use. To change your Wallpaper, choose Control Panel (in the Main program group) then choose Desktop. Follow the steps to change your wallpaper. For more information, see the Microsoft Windows User’s Guide.
5.0 Backing Up Your Hard Disk
You are strongly advised to regularly Backup important data residing on your hard disk. This may be done using the BACKUP function within DOS. For more information, see the DOS User’s Guide and Reference.
Your AMBRA computer comes with operating system and some application software already installed on your hard disk. You may wish to Backup this installed, initial software configuration as well. Again, the BACKUP function within DOS can be used for this.
However, BACKUP of the initial software will take approximately 70 minutes and 18 high density (1.44MB) diskettes will be needed.
6.0 Microsoft Windows Mode
Your AMBRA computer has been set to boot up in Microsoft Windows Enhanced 386 Mode. You may wish to change this to Standard Mode. For further information, see the Microsoft Windows User’s Guide.
IBM DOS 5.0
The early production lines shipped IBM rather than Microsoft DOS version 5. Version 5 was released in 1991 and it was final version of DOS which had a shared code base between IBM and Microsoft.
There were a few tale-tale signs that it was IBM DOS 5.0 rather than MS-DOS.
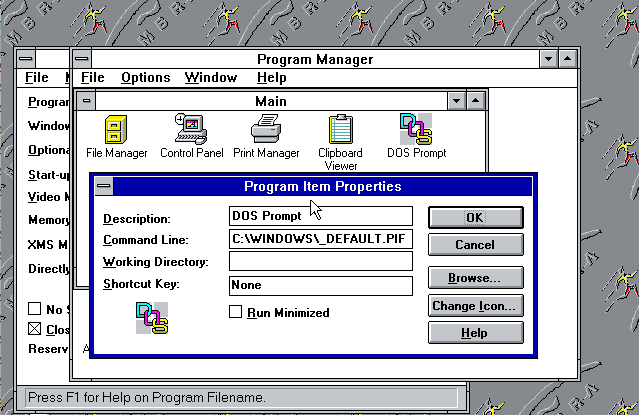
Within the “Main” Group of Program Manager on Windows 3.1, the usual red MS DOS Prompt icon was substituted for an IBM version – this was actually loading a program information file (.PIF) which was called _default.pif and was stored in the C:\DOS directory. The icon supplied by IBM was called _default.ico and was also hosted in the C:\DOS directory.
The label of the icon was changed from “MS DOS Prompt” to simply “DOS Prompt”
Clicking on the icon to take you to a DOS prompt would display the IBM copyright, rather than the Microsoft one.
The DOS icon representing IBM DOS 5 & the associated .PIF File for loading the DOS Prompt.
From about 1993, with MS-DOS 6.0 and later 6.x being exclusively released by Microsoft, later versions of AMBRA machines adopted MS-DOS on the pre-load – this was evident in the second generation of Sprinta (the AMBRA Sprinta II), Hurdla (the AMBRA Hurdla MT) and PK3 Laptop (which succeeded the Treka/Treka Max).
Microsoft Windows 3.1
In the UK, I only remember machines pre-loaded with Win 3.1 as my original Sprinta Plus was. There was only minor customisation to the build mainly to create the AMBRA group within Program Manager, and provide links to the AMBRA Tutorial, Read Me NOW file, Microsoft Works, and Lemmings.
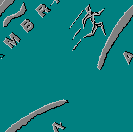
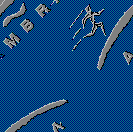
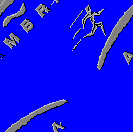
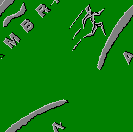
The C:\Windows directory did contain nine AMBRA branded wallpapers (.BMP bitmaps) labelled AMBRA1.BMP…AMBRA9.BMP. The default wallpaper was AMBRA1.BMP configured in tile mode on the Windows background. This was a grey image of the AMBRA athlete logo. I changed mine to the full-colour AMBRA4.BMP having seen it on the demo machine in the computer shop.
AMBRA1.BMP was the default wallpaper applied in the AMBRA Sprinta pre-load.
Click here to see the nine bitmaps pre-loaded.
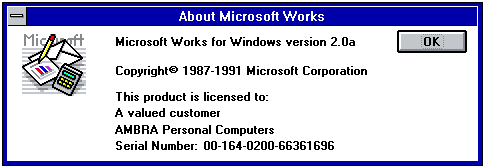
Microsoft Works for Windows v2.0a
Succeeded these days by Microsoft Office, Microsoft Works was a cut-down, all in one package offering a Word Processor, Spreadsheet, Database or a Wizard to help you use it.
Works was part of what Microsoft coined the “Solution Series” – also in the series were Microsoft Publisher and Microsoft Money.
Microsoft Works version 2.0a pre-load
this was shown in the Help…About dialog (I no longer have a copy but will provide it if ever found).
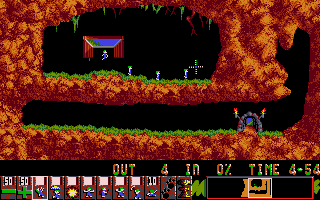
Lemmings
Lemmings took up a serious amount of my youthful time. Developed by Psygnosis it had versions for many different platforms. AMBRA bundled the DOS version in the prebuild. It could be run from the Games program group with Windows Program Manager and had a cartoon lemming as an icon. I am searching for this icon and it was…. iconic, and will upload it should it return.
Lemmings by Psygnosis was bundled in the build.
I am unaware in that first production line of other software shipped with the build.
Update April 2026: Since writing the original post I have found out that when AMBRA launched in 1992, whilst competing with IBM clones at the low end of the market, they wanted to still offer something to dealers to compensate for AMBRA being a direct-order service (and thus taking the business off the high-street retailer such as Wildings). As such, dealers were offered a reduced price on the three AMBRA models – Sprinta, Hurdla, & Treka where they could put their own markup on the wholesale price. Additionally, dealer-only pre-loads had Microsoft Works and Lemmings installed, whereas machine purchased directly from AMBRA over the telephone did not.
Immortalising the Build
Once I have sourced all the original items, tools and programs, I will issue an archive ISO of the original Sprinta pre-build. I welcome any contributions or donations of original kit to help with this. I would gladly do similar for other builds such as the Hurdla, Trekka, Sprinta II and Hurdla MT.
Any AMBRA/ICPI ex-employees or hobbyists who may be able to assist, please do reach out in comments – please start with “AMBRA Museum” in the comments field. Thank you.
Manage Consent
To provide the best experiences, we use technologies like cookies to store and/or access device information. Consenting to these technologies will allow us to process data such as browsing behavior or unique IDs on this site. Not consenting or withdrawing consent, may adversely affect certain features and functions.
Functional
Always active
The technical storage or access is strictly necessary for the legitimate purpose of enabling the use of a specific service explicitly requested by the subscriber or user, or for the sole purpose of carrying out the transmission of a communication over an electronic communications network.
Preferences
The technical storage or access is necessary for the legitimate purpose of storing preferences that are not requested by the subscriber or user.
Statistics
The technical storage or access that is used exclusively for statistical purposes.The technical storage or access that is used exclusively for anonymous statistical purposes. Without a subpoena, voluntary compliance on the part of your Internet Service Provider, or additional records from a third party, information stored or retrieved for this purpose alone cannot usually be used to identify you.
Marketing
The technical storage or access is required to create user profiles to send advertising, or to track the user on a website or across several websites for similar marketing purposes.