Why? I hear you ask. A laser disk looks like a CD but is the size of an LP (30cm diameter). I thought as a winter project, and in preparation for a grand launch on New Year’s Eve after a couple of tins of Brew Dog from my Christmas Advent Calendar, a bit of karaoke would be interesting.. if I could restore one to a working condition.
A quick bit of history…
Wikipedia reliably informs me that the laser disc was conceived in 1978 and came to an end in 2001. There’s some collectable movie titles out there including Star Wars, Jurassic Park, not to mention copious amounts of karaoke from the 70’s, 80’s and 90’s. With the supreme confidence in being able to fix anything, I purchased Star Wars Trilogy, Casino, and a well dodgy selection of karaoke laserdiscs for testing from eBay. I just needed to choose a player to restore.
The Sherwood brand…
It’s probably worth just acknowledging some copyright and trademarks. “Sherwood” was (past tense it seems) the home brand of the Inkel Corporation, Korea, along with it’s superior brand, “Sherwood Newcastle”. There is still some lingering information available on the Inkel Website, but sadly it is somewhat outdated, with 2014 being the last obvious updates. I’ve tried to contact Inkel to verify some facts and to provide suitable references, but all contact details seem obsolete. This is a shame as there are plenty of Sherwood audio units in circulation and this particular project demonstrates how fixable they are. With that in mind, you may recall the logo badged on the front of their units:

In a future post I will try and accurately summarise the history of Sherwood. I do hope that given the global market, the internet, AI, 3D printing and plenty of enthusiasts out there that Inkel may respond to me and perhaps agree to the open-sourcing of the user guides and service manuals to enable the kit still out there to live on.
One of the most useful features of the Sherwood hardware was a feature called DigiLink (often mis-spelt on eBay as “DigiLine” due to the font used on some units making the “K” look like an “E”). This nifty feature enabled Sherwood units to be interconnected using a single male-to-male RCA cable with the tip and receiver ports coloured in green (as opposed to red/white for audio, and yellow for video).
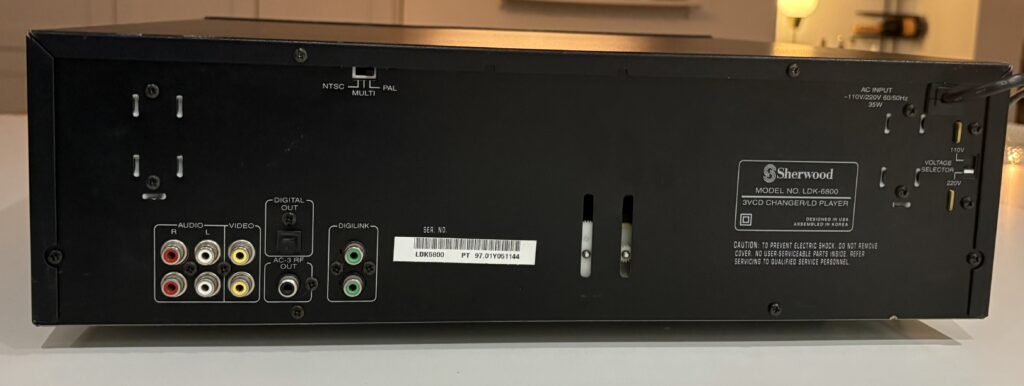
The interconnection allowed the amplifier’s remote control to control any connected Sherwood accessories in the stack system rather than having to search for separate unit controllers. The protocol was proprietary, so again there is no real information on how this could be modified – a shame as with Raspberry Pis, wifi networks, iOT and mobile apps it would be a fun hobby project which could maybe be useful for diagnostics and unit control.
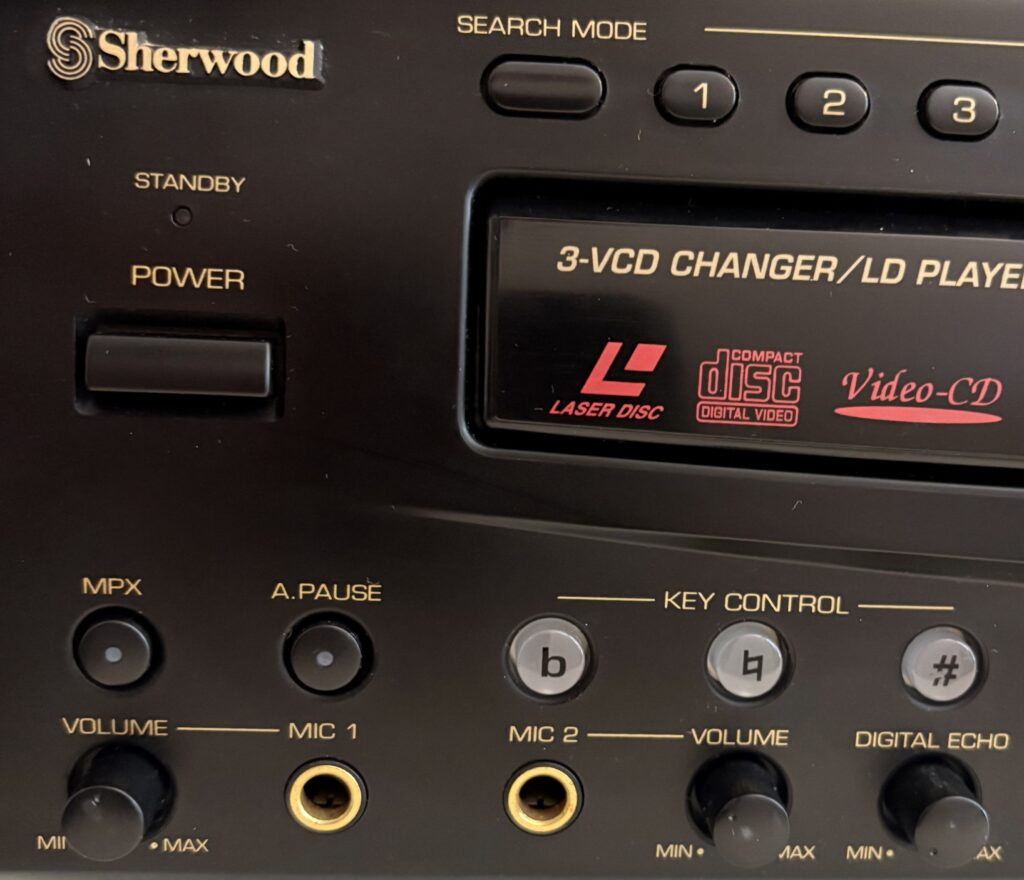
The LDK-6800
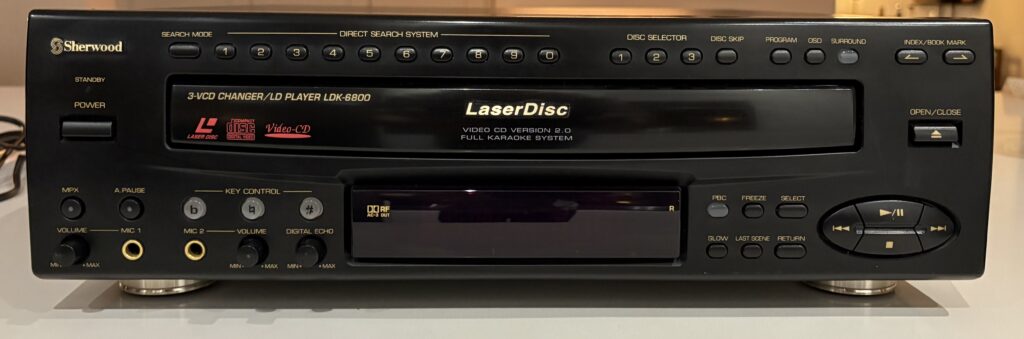
The Sherwood LDK-6800 support both laserdisc and video CD (VCD) – the latter having a 3-disc carousel.
As I have the Sherwood stack system made up of several components already, I thought it would be interesting to see if Sherwood had manufactured any laserdisc units. eBay quickly returned just two units, both located in California. Described as “used, with signs of wear, but working, no accessories”, I could see from the photos provided that they did indeed have the digiLink (v3) RCA ports for connection to the stack (presumably as a CD player as the tray accepts VCDs, Laserdiscs and CDs).
Whilst it had a US plug on the end, it did have a 110v/220v switch on the rear so it seemed like a viable purchase. But would it survive the journey to the UK?
No, is the short answer. When it arrived I added a plug adapter, switched it to 220v and powered it up. The power was fine but the disc tray was confused at best, eventually not working at all.
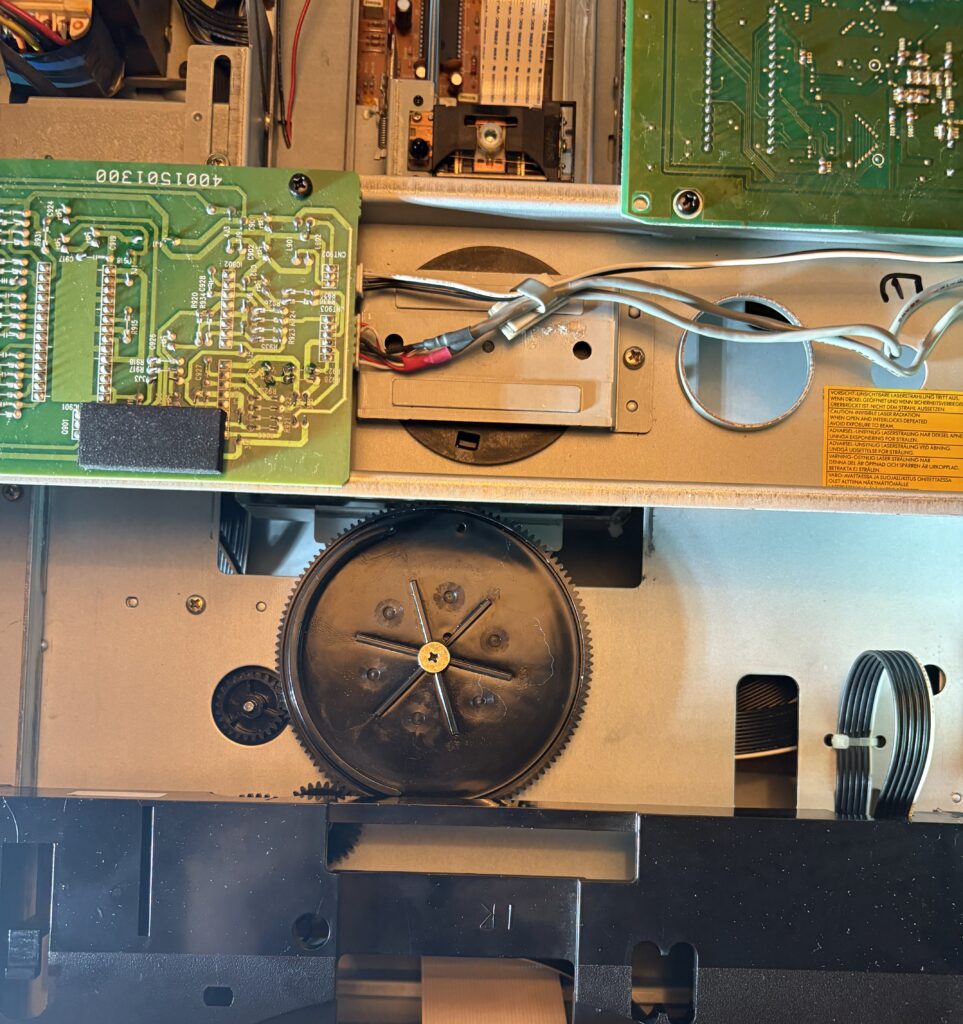
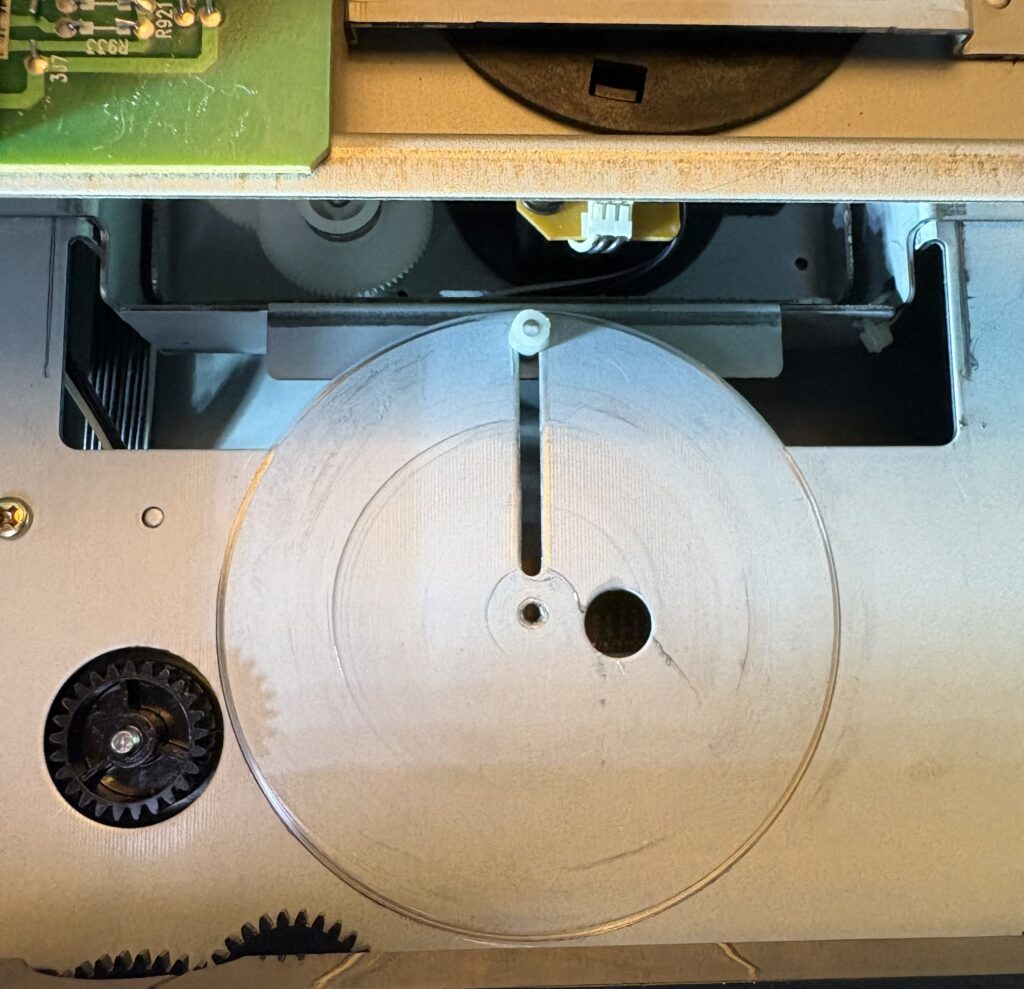
A look inside the case revealed a pretty dusty but otherwise decent looking setup. The LDK-6800 changer ejects in two parts – the first part to enable the 3 VCD wells to rotate, and then a little further still to enable the larger laserdisc to be inserted. Three motors each with three gears control the tray and lens manoeuvres, and my working assumption was that they would need testing and the belts replacing. All three motors were still functional but i did grease them a little and manually rotate them to ensure movement was smooth. I replaced all the rubber belts. I gave the laser lens a clean and cleaned the visible PCB boards with some compressed air. Surely it would work now?
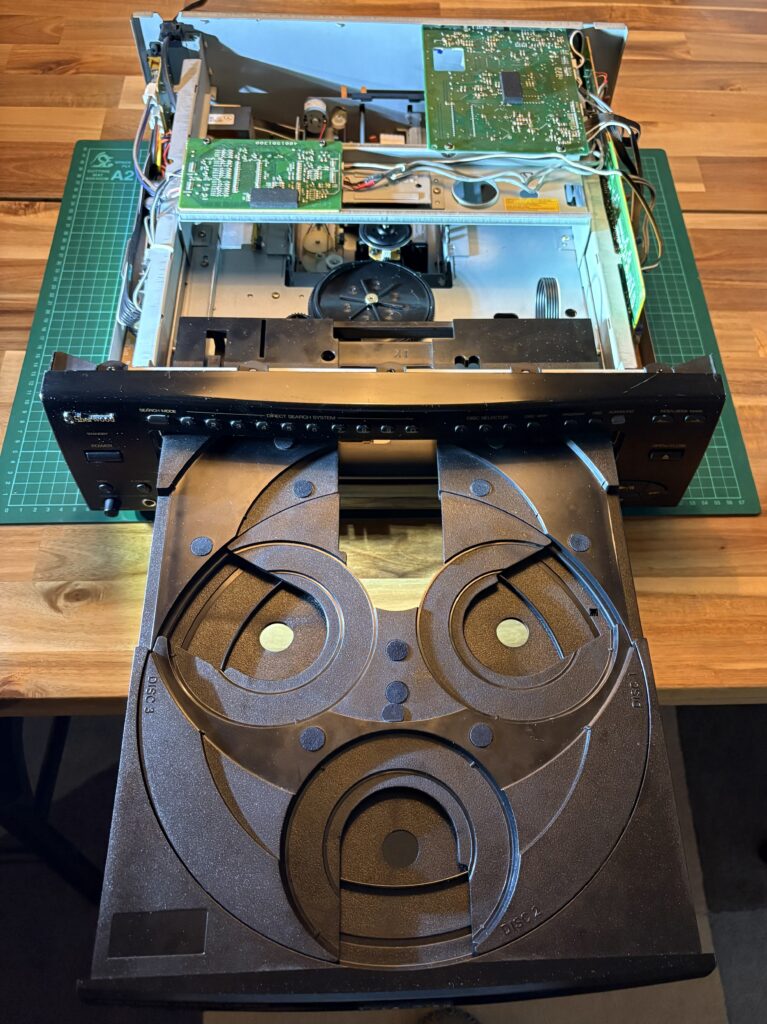
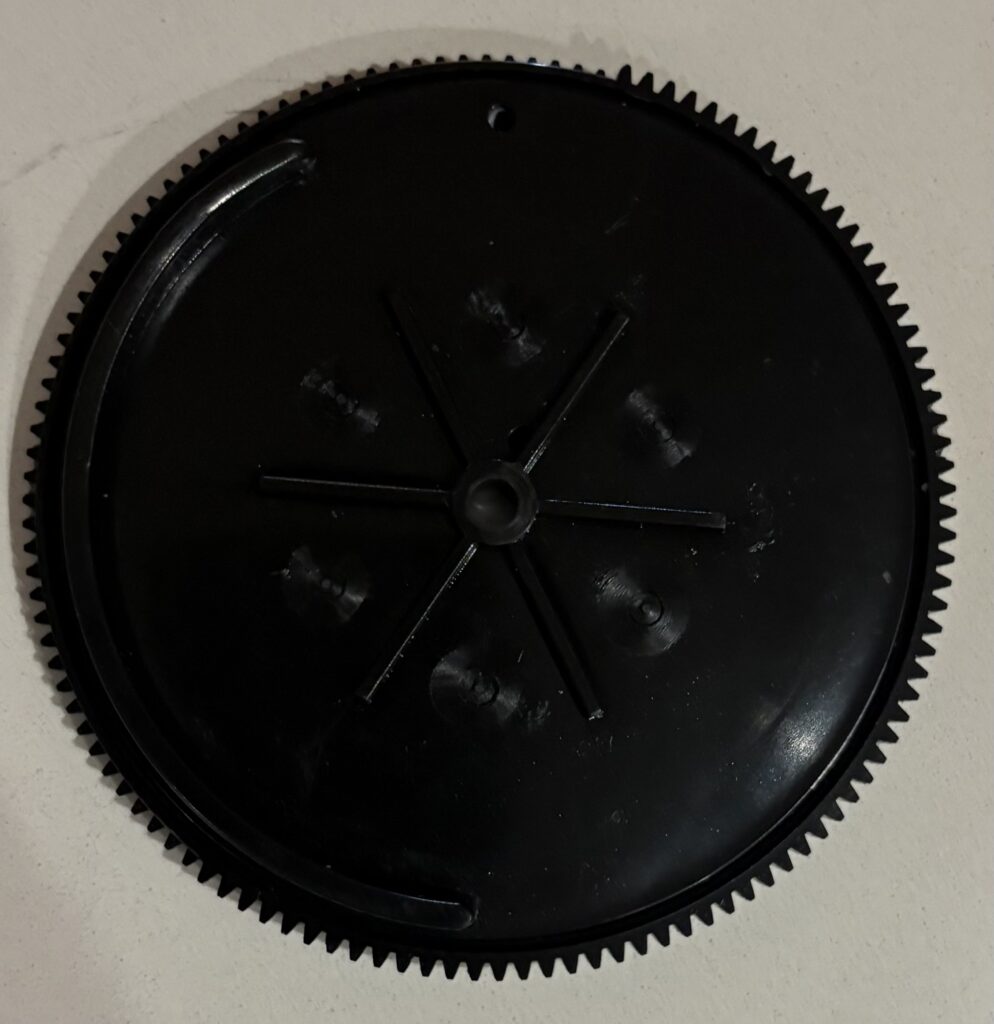
No! absolutely no difference. After a few more hours of tinkering to no avail, I decided to completely dismantle the unit. I carefully removed each component (I did check archive.org in the hope that some good-sport-audiophile had uploaded the operational manual, or better still the service manual, but no such luck), and systematically checked everything. The very last component I checked (which ironically was the second component removed, the first being the disc tray itself) was a bespoke (and I mean bespoke) 10cm diameter, imperial gear located just at the front of the unit directly under the disc tray in the center. Whilst it looked like it was in immaculate condition in position, upon flipping it, the potential issue became apparent. Because of the extended tray ejection to accommodate the laserdisc as well as being able to rotate the 3 VCD pods, the gear had a hidden channel groove on the underside to guide the laser mechanism. The groove wall had snapped meaning that the laser mechanism was veering off-track without the channelling to guide it. Easy fix, buy a new gear.
Wrong! It’s bespoke. In fact the only thing that came close was a Bang & Olufsen Century gear which performed a similar task, but even that was incompatible.
The Magic Fix
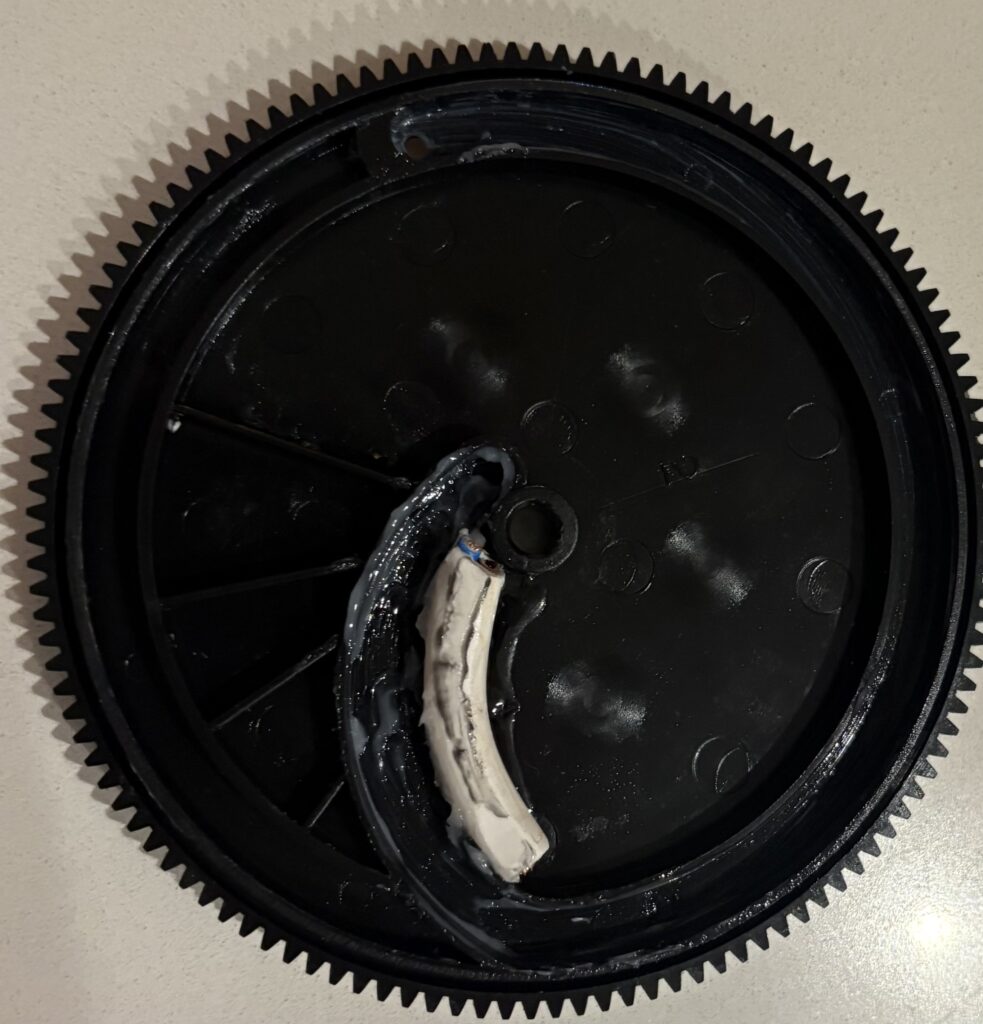
I spoke to a few engineer friends to discuss the viability of a 3D scan and a 3D print of a replacement gear. However I performed a home fix using some rubber cord and Gorilla e-poxy resin.
I took some electric wire which fitted perfectly in the channel groove as a temporary measure to follow the line of the snapped channel. With that firmly in place, I placed a second piece alongside it to act as the missing channel wall. Between the two I cut a cable tie simply as a barrier between them. I then e-poxy resin’d the outer piece to the gear base and clamped it for twenty four hours. The next day I removed the cord which was in the channel and the clipped cable tie leaving just the glued cord in place forming a new channel wall.
I lubricated the channel with white lithium cream (which is commonly used on audio mechanisms except belts), and re-assembled.
When I powered on again and pressed eject the door flew open, and to my amazement the laser disc operated first time.
Further tinkering found another important setting – the bespoke cog, when fitting back in harmony with its partner gears cannot afford to be a single tooth out of position, whilst one tooth out looks like the tray returns into the unit correctly it will not be sufficient to trigger the lens mechanism to move into position.
Remote Control
No accessories were included, but through an unbelievable stroke of luck, PicClick.co.uk reported a spare RC available for the LDK-6800… but guess where from? Illinois, US. No complaints though, in working and excellent condition. I gave it an obligatory clean and fresh batteries and it was fine.
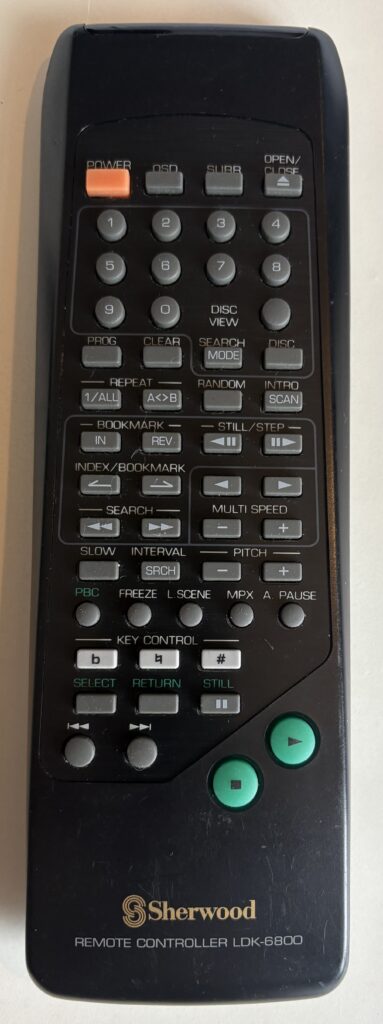
The RC is not strictly necessary if you are using the digiLink system with the amplifier remote – however the limit of the shared controller will be CD functionality, anything specific to the LDK-6800 won’t be possible on the main control.
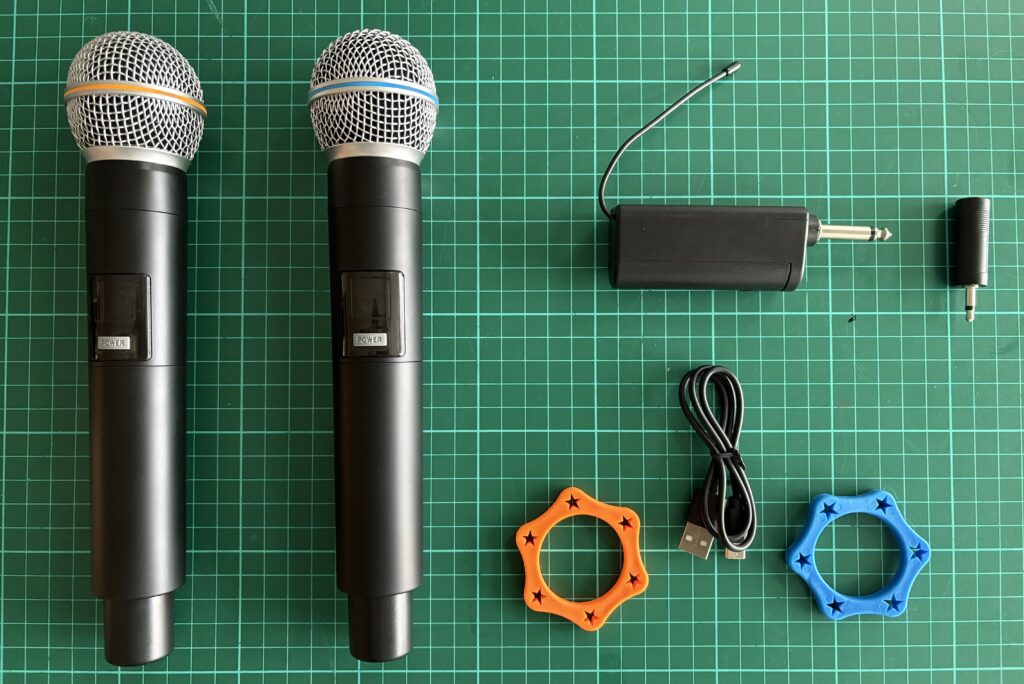
Wireless Microphone
The LDK-6800 comes equipped with two microphone input ports for wired microphones, each with separate volume controls.
As an alternative, I picked up on Amazon a pair of wireless microphones and a receiver (all USB re-chargeable) which could be inserted in either one of the microphone sockets. This too worked first time to enable a sing-along leaving one mic port free should a wired one be plugged in.
Cosmetics
I then decided to give the chassis and front panel a good clean-up. In fairness, given the age of the unit possibly dating back to 1997 based on the serial number it was not in bad nick.
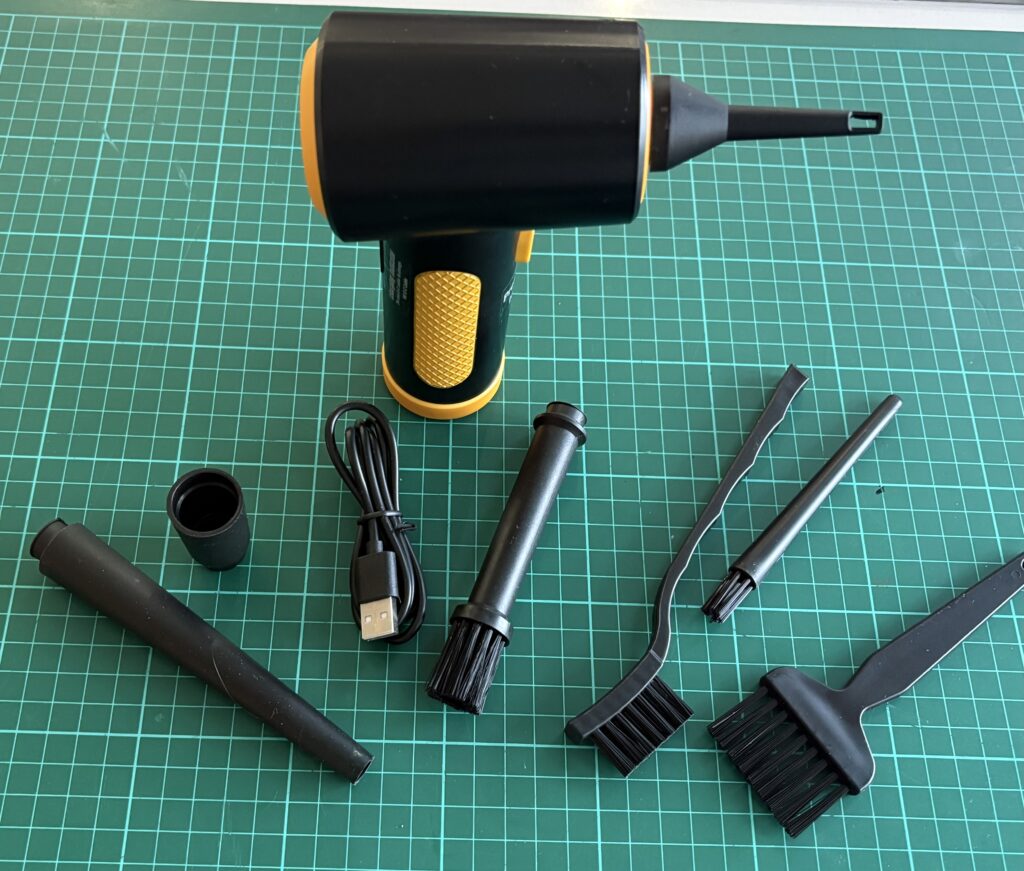
The following products I have used with success on this project – and of course all of them will be reusable on other similar projects.


(Click to Purchase)

(Click to Purchase)
(Click to Purchase)https://amzn.to/3BQNT4a
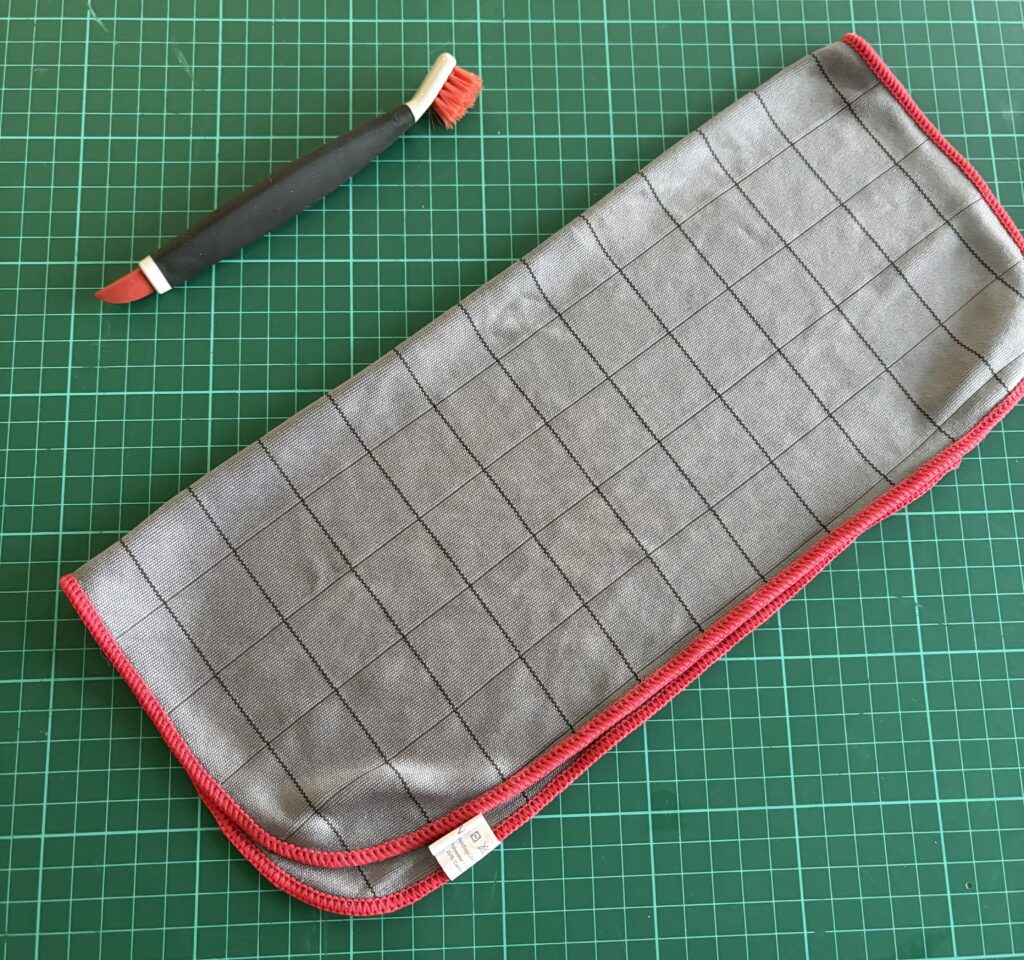
I’ve used a few products to polish the unit, with two different scratch removers, brush and fibre cloth after a good blasting with an air blaster. A few deep scratches remain, but I am working on a remedy for those which, if I have any success, will post an update on.
Demo
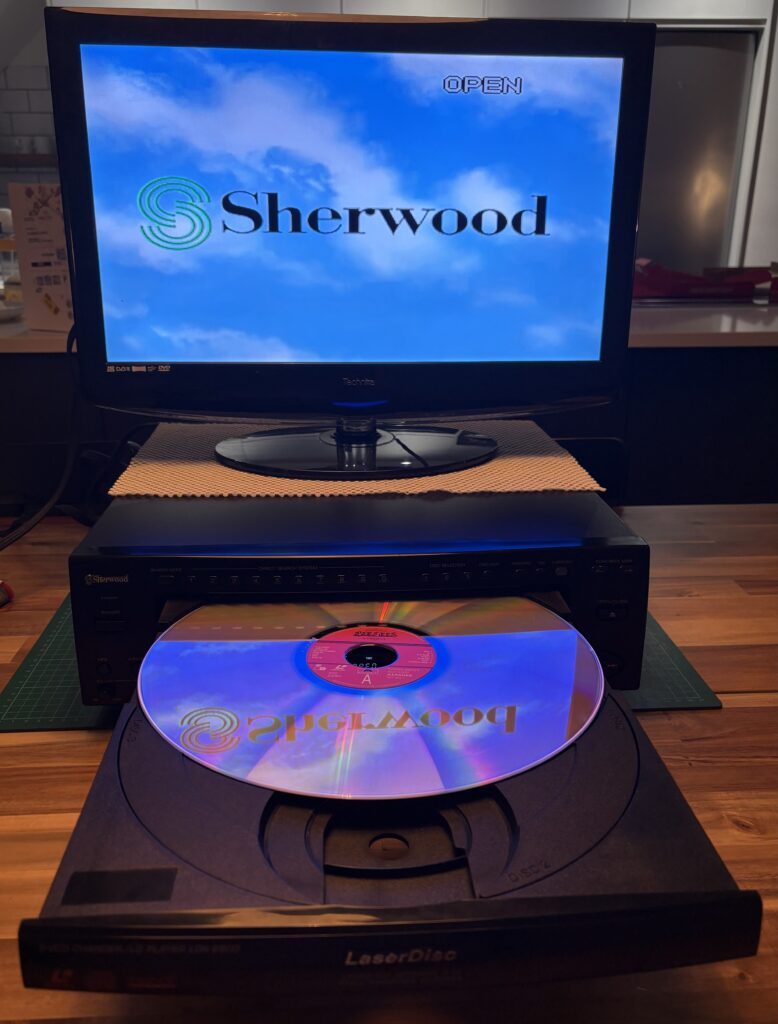
The audio RCAs can be run through the Sherwood amplifier, but for demonstration I have connected them along with the video-out RCA straight to the TV just to prove it all works OK. And here are the results.
What’s Next?
For this project, I think an electrical safety test now I’ve effectively serviced all the components and maybe a Star Wars Trilogy evening is in order.
If anyone happens to own either the service manual or the operating instructions for this model, then please get in touch.
Credits & References
I am grateful to the following sites, organisations and reference material for being able to make this a successful project, and to be able to share for others to benefit from:
| Resource | Link | Purpose |
| Inkel/Sherwood | www.inkel.co.kr | Manufacturer of LDK-6800 |
| Wikipedia | https://en.wikipedia.org/wiki/LaserDisc | History of the LaserDisc |
| Archive.org | https://archive.org/ | General resource for Sherwood audio documentation |
| Domesday86.com | https://www.domesday86.com | Recommendation of scratch repair for plastic |
| Ebay.co.uk | Sourcing the Sherwood second-hand components | |
| Amazon.co.uk | Sourcing the materials to restore the player and accessories |

Leave a Reply